TABLE OF CONTENTS
Step 1: Dashboard navigation
If your shareholders are already captured, go to the Ownership tab and click on the Transfer Shares action button.

Step 2 - Which shareholder are you transferring from?
A window will prompt you to choose who you are transferring to. You can either select an existing shareholder from the dropdown or, right at the bottom select Create New Shareholder. Select the Transferred To and the date of the transfer.

Step 3: Choose/add new shareholder details
If you are transferring the shares to an existing user, simply click on the "shareholder already exists" radio button and select the existing user from the drop-down menu.

If the new shareholder doesn't exist yet, simply toggle the "create new shareholder" radio button and proceed to capture all the relevant information below.

Step 4: Complete financial information
Scroll down to proceed to complete the price per share, the number of shares, and the share certificate number. To transfer the full amount of shares, select the checkbox, All of them, or fill in the portion of shares you are looking to transfer. With partial transfers, an additional box will be added at the bottom of the window to prompt you to decide which certificate you would like to send the balance of the shares to.
To make additional transfers send the balance back to the original share certificate. This certificate can then be selected for further transfers until all the shares have been depleted. To issue the balance shares back to the original shareholder, simply leave the suggested certificate number and InfoDocs will generate the new certificate and cancel the old. Finally, choose the amount that was paid for the shares and click Save.

Once the "Transfer Shares" process has been successfully concluded, you will be diverted back to your ownership dashboard where you'll note your share transaction has automatically taken effect.

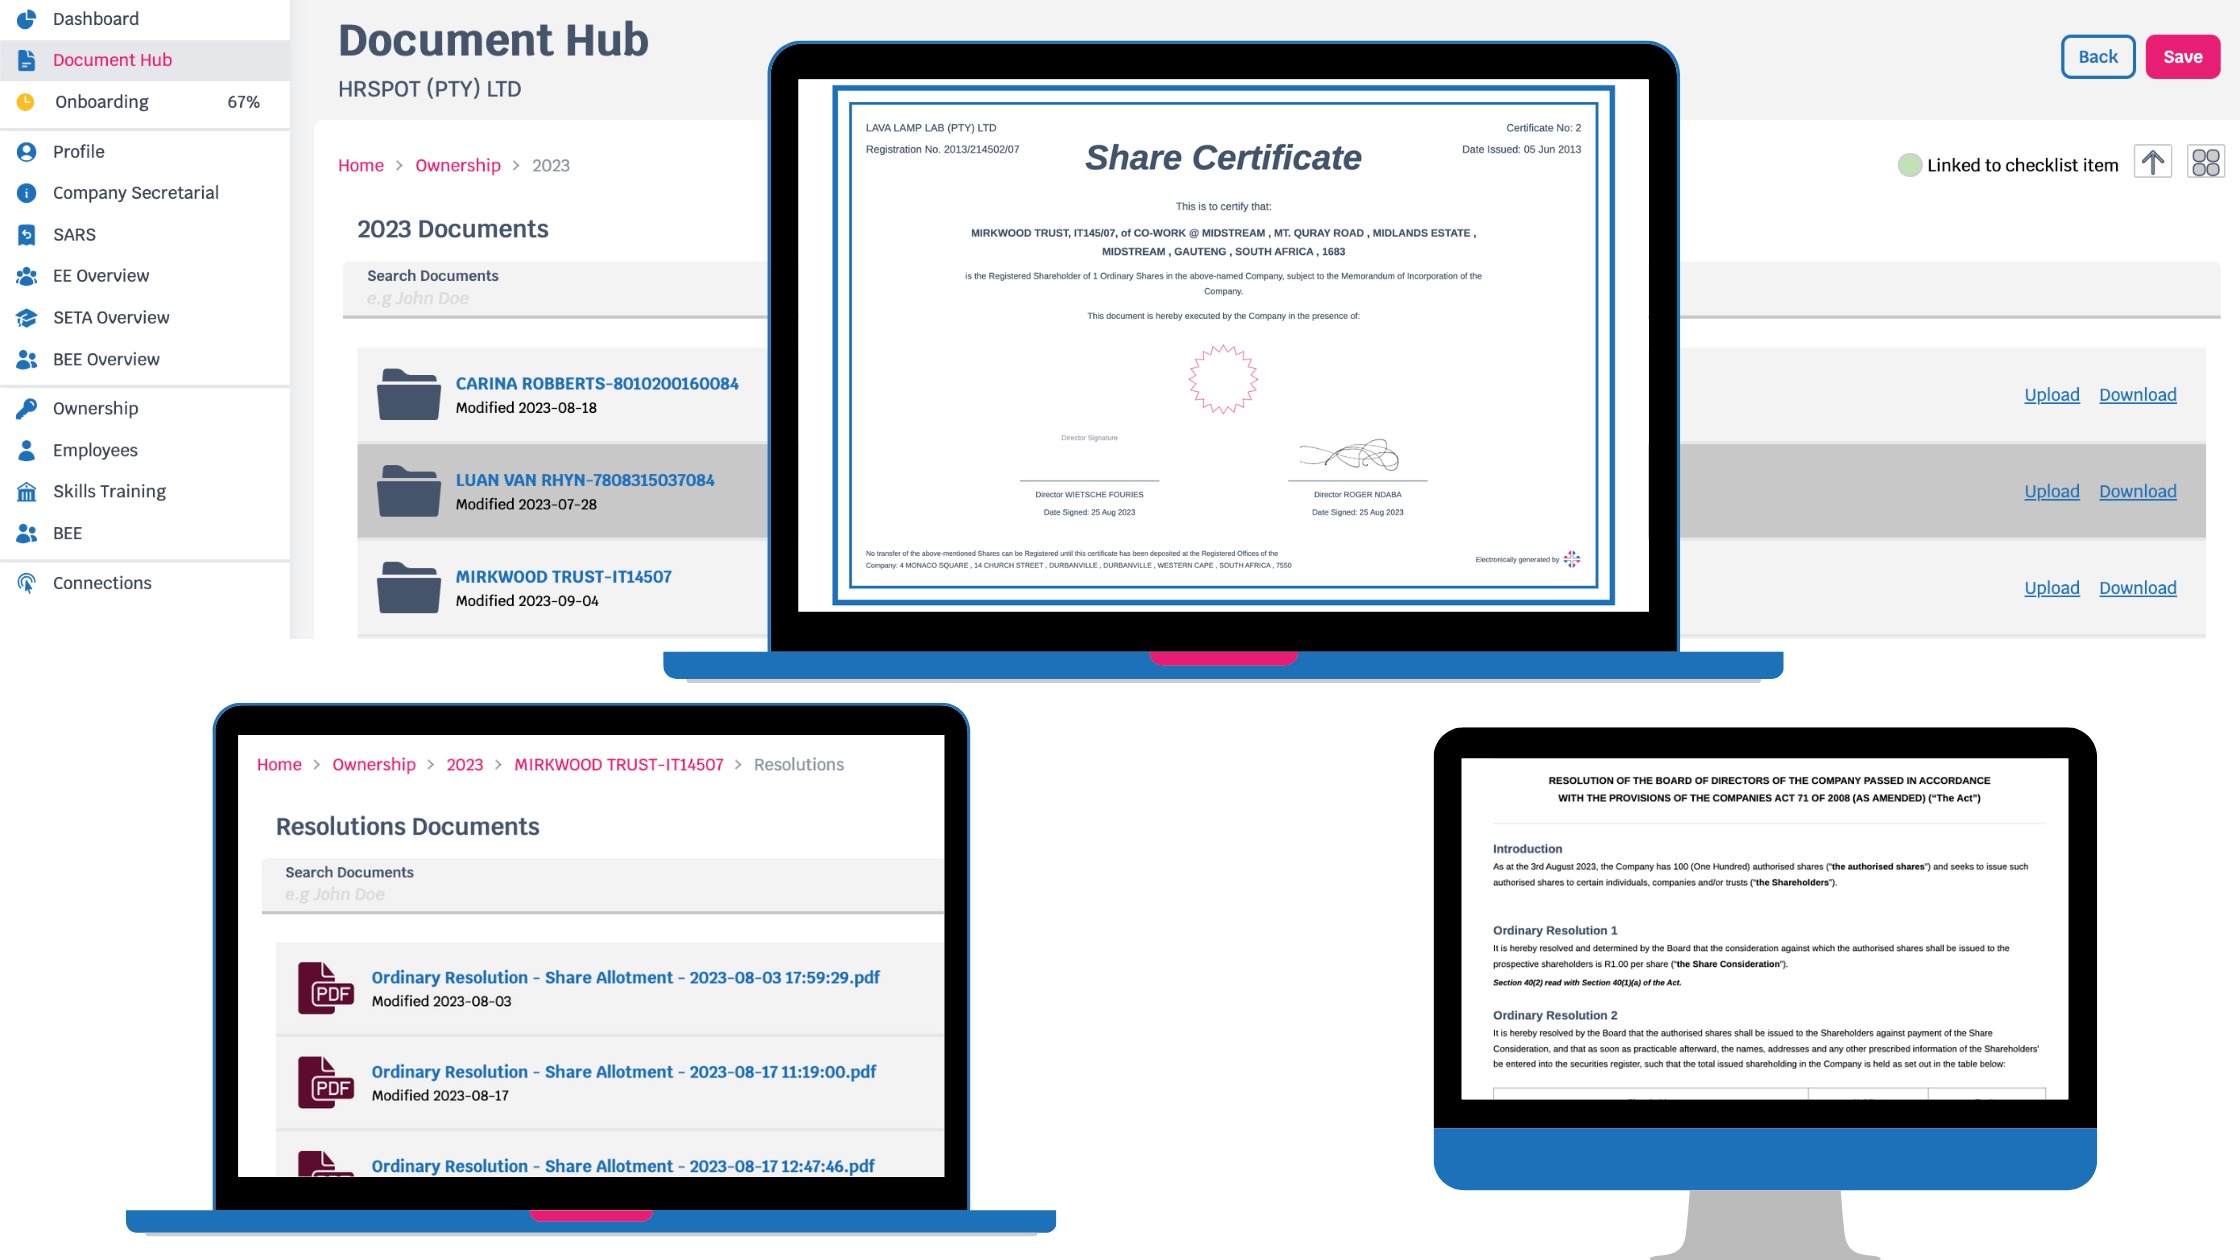
Now that your transfer is completed, Intersect will populate all of the supporting documents to finalize the transaction. Namely;
the updated register with the transfer details,
the security transfer form (old CM42 form) and
the share certificate/s
Step 5: Access your Document Hub
If you do not download the supporting documents in this window, you can find them in the Document Hub where we automatically store them in their respective folder/s. Yes, we know. We're pretty cool that way :)

Last Update: 27 November 2023
Was this article helpful?
That’s Great!
Thank you for your feedback
Sorry! We couldn't be helpful
Thank you for your feedback
Feedback sent
We appreciate your effort and will try to fix the article